Art photographers are a special breed. Their ability to bring out the best in a painting or sculpture is the product of carefully chosen equipment, well-honed skill and years of experience and experimentation. Not all of us have access to or budget for this kind of service, though, so how does one get a decent image? I’ve been working at this for years and, even with my basic tools, I’m getting some better results.
It all starts with the input. Use the best camera you have, with the sharpest lens available, at the highest possible resolution. My Cannon has two options for its highest resolution: one with “smoothing” (interpolation) and the other without. I have found that the smoothing is not useful in this application.
Mount the camera on a steady tripod, and aim it at the art so that the image fills as much of the frame as possible without being out of square. Essentially, you want the camera to be aiming directly at the center of the painting at a 90-degree angle to the surface, with all edges of the painting exactly parallel to the edges of the image frame. If you see a tetrahedron (i.e., one edge is longer than its opposite and the corners aren’t exactly square), adjust the camera angle or height until that effect is gone.
If your camera has a remote or an extension cable, use it. This will keep your hand from shaking the camera body as the shutter opens. I don’t have a remote, so I shoot my photos using the ten-second timer.
Color correction is one of the most difficult parts of getting an image to print or display correctly. Every sensor on every camera (or scanner) has a certain bias. My old Fuji leaned toward purple, my Sony was blue biased, and my Canon EOS Rebel XTi tends toward yellow. The white balance setting is the key to getting good color input.
Lighting is critical, and indirect natural light is best. If you can, shoot the image outside in open shade. The sun is really the only “full spectrum” light source available, so take advantage of it!
If you have to be inside, getting some natural light from the windows is good. Since I’m taking my pictures inside and I don’t have a good natural light source, I use a mix of warm and cool light bulbs to get the fullest possible spectrum of lighting on the painting.
Even with the mix of lighting, I cannot ensure a complete spectrum, so I take a series of pictures at different white balance settings: AWB (automatic), sun, shade, and cloudy. I skip the incandescent, tungsten and fluorescent settings since early experience showed them to be too extreme for my lighting setup.
At each of these settings, I “bracket” the exposure: I take one image that the light meter registers as “just right,” one at a single f/stop too dark, and another at a single f/stop too light. Over time, I have learned that I can count on certain settings to get the best image with the lighting I’m using, so I can reduce these steps somewhat.
That said, I’m still doing some work in GIMP (GNU Image Manipulation Program–a freeware Photoshop substitute) to get the right contrast and to tweak the color balance and saturation even further. I keep the painting close by so I can compare as I work. I’ll get into the details in the next post.
Understand, also, that your computer monitor is color biased, too, and is affected by the ambient lighting in the room–as is your cellphone, your friends’ phone, your laptop, your iPad…it’s truly endless.
High end print shops have sweated this sort of thing forever! An old pre-press supervisor told me how back in the 1960’s there was a huge argument about whether the fabric coming back from Italy was the color ordered by the designers in New York. It went to court, and they apparently decided that TRUE color can ONLY be seen when ALL of the following conditions are met:
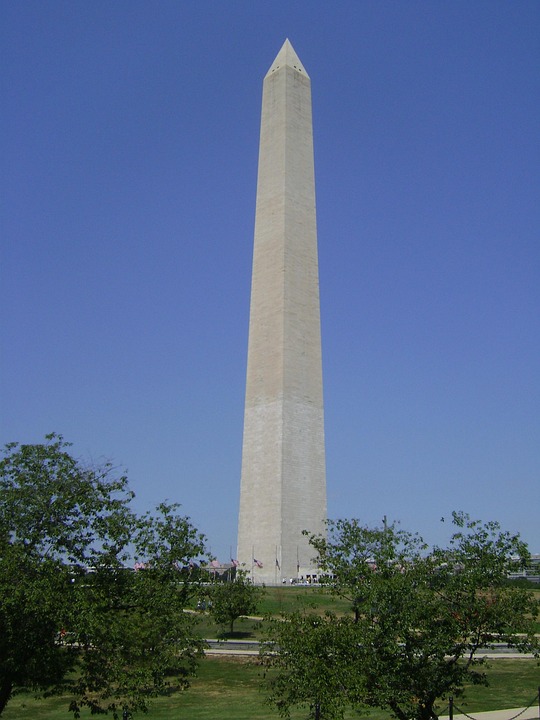
- You are standing on the steps of the Washington Monument
- At high noon
- On the summer solstice
- Under a cloudless sky

